Monday, February 28, 2011

Shamrock Decoration

Well I finally finished this project. It has taken me a while, but it is now done.
So to make this I got the idea from this blog here This one was for a valentine wreath but I thought the little rosettes could look like any flower, so I made them green for St Patrick's Day.
On the other blog there are some directions that might be easier to follow, but I did it a little different from her so here is what I did.
First I found the supplies I needed. An empty cereal box, some tissue paper, glue, and scissors.
Then I traced a shamrock onto the inside of the box.
Then cut it out. and cut your tissue paper into long strips about 1 inch wide. I think I used 5 1/2 sheets. I covered my work space with parchment paper, because I didn't want the table to get glue on it. You will get sticky with this project.
Then place a line of glue onto the tissue paper and smear the glue so it covers the paper. 
Roll one end so that it makes a small ball. 
 This one is kinda hard to see but you roll the paper half way around and then twist the tissue paper so what used to be at the bottom is now at the top. Then continue the twisting and rolling until you reach the end of the tissue paper. Then stick it onto the shamrock.
 Use the next strip of tissue paper and do the same thing. Keep repeating until the shamrock is full. This is what took me forever. Maybe it is in part because I turned on movies to help pass the time.

Once you are finished with all of it add some ribbon to hang it with. Hang it up and enjoy your decoration.

Thursday, February 24, 2011

Adjustable Pants

My 4 year old is very skinny and she hates when I make her wear pants. I asked her why and she told me because they fall off. So I found some with an adjustable waste. They have a button and elastic so you can make the waste smaller or larger so you get a better fit.
She loved these when she put them on, for about 30 min. Then she started complaining that they hurt her sides. So I looked and her sides had red marks from where the elastic rubbed. So I loosed the pants thinking maybe we had them too tight. Well that didn't work. So I came up with another idea. Why not cover the elastic with something soft.
I used some left over fleece I had. I measured how wide the waste band was and then cut fleece that was that width and long enough to cover the elastic that stuck out. mine was about 1 in X 4 in

Then I hand stitched the fleece over the elastic.Click Here for a great tutorial on hand stitching. Make sure you only stitch one layer of the pants so you can't see the stitches on the outside. Leave an opening on the bottom and one side, or you could leave one on the top. That way if she gains some weight before she gets to tall I can adjust them. Or I will be able to use them with my next daughter who is bigger.
Problem solved. She loves the pants and told me they are "supper soft now". It is like wearing a "soft kitty, not pants"

Tuesday, February 22, 2011

Child's Bathrobe

For Christmas I got a new bathrobe, well that led both my daughters into thinking they needed one too.


So I have finally made them both robes. And they love them. They both keep asking if they can take a bath.

Here is how I did it. Sorry the pictures are combined from me making the two, so  the towel changes colors.
First I bought a bath towel. One towel for each robe you want to make. The towel I used was 30 in X 54 in.
To get the right size I used a shirt that currently fit so I would know what size to make. I folded the towel in half so it was 30 in X 27 in and placed the shirt folded in half on the towel at the top near the fold.. I added 2 extra inches to the middle because I wanted there to be plenty of room for overlap. 
I then traced around the back side of the shirt adding 1/2 in for the seams. when I got to the bottom of the shirt I just continued the line down to the end of the towel. If the bottom of the towel is used then you won't have to hem it! 
To make the neck line for the front I knew I wanted it to swoop, like the new robe I have, so I drew how I wanted it to look (the blue line). It took a few tries to get a line I was happy with. Then I cut it out.
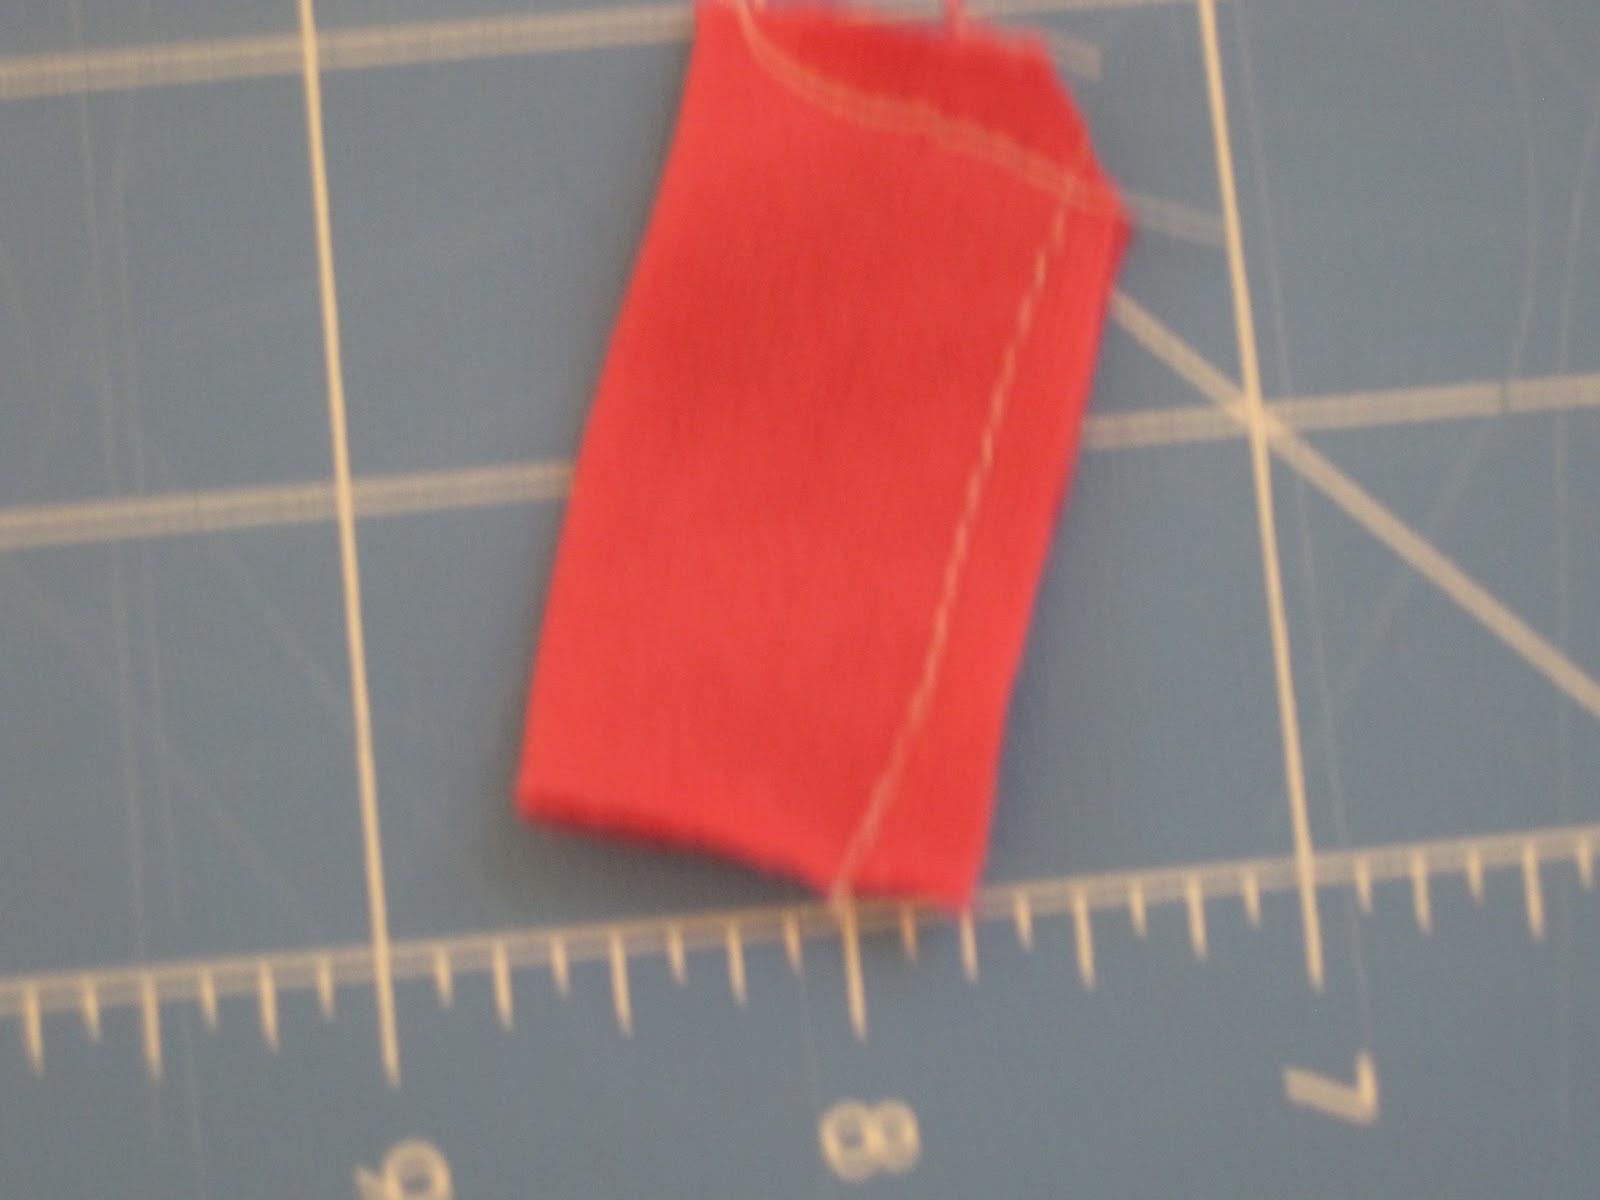
This is the front pieces of the robe. 
To get the back piece I used the front piece so I wouldn't have to add the extra for the seams again. I folded the center of my front piece back the 2 inches that I had added, because I want the back to not be extra large. I also made the neckline in the back higher because I didn't want the back to scoop down like the front.
After I cut the pieces I lined them up to make sure they would overlap and would fit how I wanted them too.
To make the sleeves I folded the towel so I could place the sleeve on the fold. I only wanted a seam on the under part of the sleeve. Just fold the towel over enough for the sleeve to fit, because you want to be able to make both sleeves. I then added a 1/2 in to where I would put the seam, so the not on the fold side and where the top is so it can connect to the robe. 
I then checked that it matched the arm hole on my top and bottom so I knew if it would actually fit. 

Cut the first sleeve out and use it as a pattern for cutting the second one out. 


 I then sewed the shoulder seams together using a straight stitch with a 1/2 in seam and then used a zig-zag stitch just inside my straight stitch so the towel wouldn't keep fraying. If you have a serger use that, but I don't so I zig-zag. Then sew the sides together and zig-zag that as well. Now you just have to attach the sleeves.
To attach the sleeves I sewed the sleeve right sides together along the raw edge using a 1/2 in seam and zig-zagged again. So it makes a tube to put the arm in. Make sure you don't sew either of the ends closed.
Turn the sleeve right side out and attach it to the rest of the robe. To do this the sleeve is right side out and the rest is on the wrong side. Slide the sleeve into the arm opening and match up the raw edges and match the side seam of the robe with the seam on the arm. 
Sew around the opening and zig-zag that too.  Do the same for the other side. 
Now if you want you can hem any raw edges like around the neck or add a strip of fabric to cover the raw edges. 
I measured around the edge of the robe, Down the middle of the front the neckline the back neck and down the other side. Then I cut a strip 4 inches wide and as long as I needed. I had to sew two pieces of strips together to get the strips as long as I needed. 
I ironed the raw edges under 1/4 inch and then folded and ironed the strip in half. Then pin the strip around the edges of the robe so the robe is tucked inside 1/4 inch. Sew the strip on. 
Now to make the ties. I made my daughter try on the robe to see where  in needed it to tie and then marked it. I cut squares that were 2in X 2 in folded them in half and sewed around leaving the bottom edge open so I could turn it. I cut the corners so it would have a sharper edge. then turned it right side out. 
 Make as many of these as you want these are the loops to hold the tie in place. I made 4 placing one in the center back and one at each side seam and then one on one side of the front. I only did one in the very front so it could overlap on one side.  Now hook these onto the robe. Measure from the bottom how high you want them and pin them in place. I then sewed right on the edge so I would have room to place the tie through the loops.
To make the tie I measured around my girls to see how long it would need to be. The fabric I used doesn't fray so I just left it in a long strip. If you need to cut the fabric twice as wide as you want it to end up, so if you want the tie to be 2 inches wide cut it 4 inches so you can fold it in half right sides together and sew the raw edges. Then turn it so the right side is facing out. Thread the tie through the loops. I was worried about my daughters taking the tie out and strangling  themselves with it. So a friend of mine suggested sewing the tie in place so that is what  I did. I threading the tie where I wanted it and then sewed on top of the tie in the loop. 
Now clip all the extra threads and you are finished. Now my kiddos can take baths all they want. 

Friday, February 18, 2011

St Patrick's Day Table runner

The other day my four year old said to me "Mom I wish it was the day the leprechauns steal gold." So I told her we there was actually another holiday before St Patrick's Day called Presidents Day. Well she didn't think that one sounded very fun, so I told her we could decorate for St Patrick's Day as soon as February was over, but that we could start making some decorations now. That made her happy, so I have started on more St Patrick's Day decorations. I made a table runner.
To start I used three different fabrics that I liked. I cut the fabric into 5 inch squares. I cut 9 squares from each fabric for a total of 18 squares.
I then arranged the squares into a pattern I liked. I tried both a rectangle and a square to see what I liked better. The square one finished is about 23 inches

The rectangle one is about 40 inches long and 14 inches wide. To make the triangle pieces I just cut the square piece in half diagonally and then for the smaller triangle on the very ends I cut each diagonal in half again.
After you have the pieces arranged how you like then pick up one row and sew it together. I used a 1/4 in seam. Then sew all your rows together.

Once all the pieces are sewn together lay the from part on a larger piece of fabric and trace around it. This will give you the back. If you want you can place a thin layer of batting in the middle. Then you "Stitch in the ditch" which means you sew on the top of your fabric where the seams are. You sew the front batting and back pieces together on the right side of the fabric going along all your squares. 
finish your table runner by using biased tape around the edge to give it a nice finish.

Wednesday, February 16, 2011

St Patrick's Day Subway Art

So now that Valentine's Day is over I have decided to start getting ready for St. Patrick's day. My Sister-in-law showed me Subway art, and I think I like the stuff. I found it is fun to make, So I made one for Valentines day and now I have made a St. Patrick's day one as well.
I hope I did the 4shared download right, So if you want one here is the link
http://www.4shared.com/photo/H45hkHil/St_Patricks_Day_subway_art.html
This is for the jpg version.